Running Manjaro ARM in UTM on M1 Mac

Introduction

After some time of silence on my blog I want to share with you some cool stuff I was figuring out the last weeks and months. Let me give you a short background first though, just to set the context right…

Over the last 2 years I was heavily involved in a novel product from my employer. Working from the specs to a PoC and then having the first users on the system was really challenging and time consuming, but on the other hand a lot of fun… and I’ve learned a lot also in regards to developing, distributing and running complex software on embedded devices.

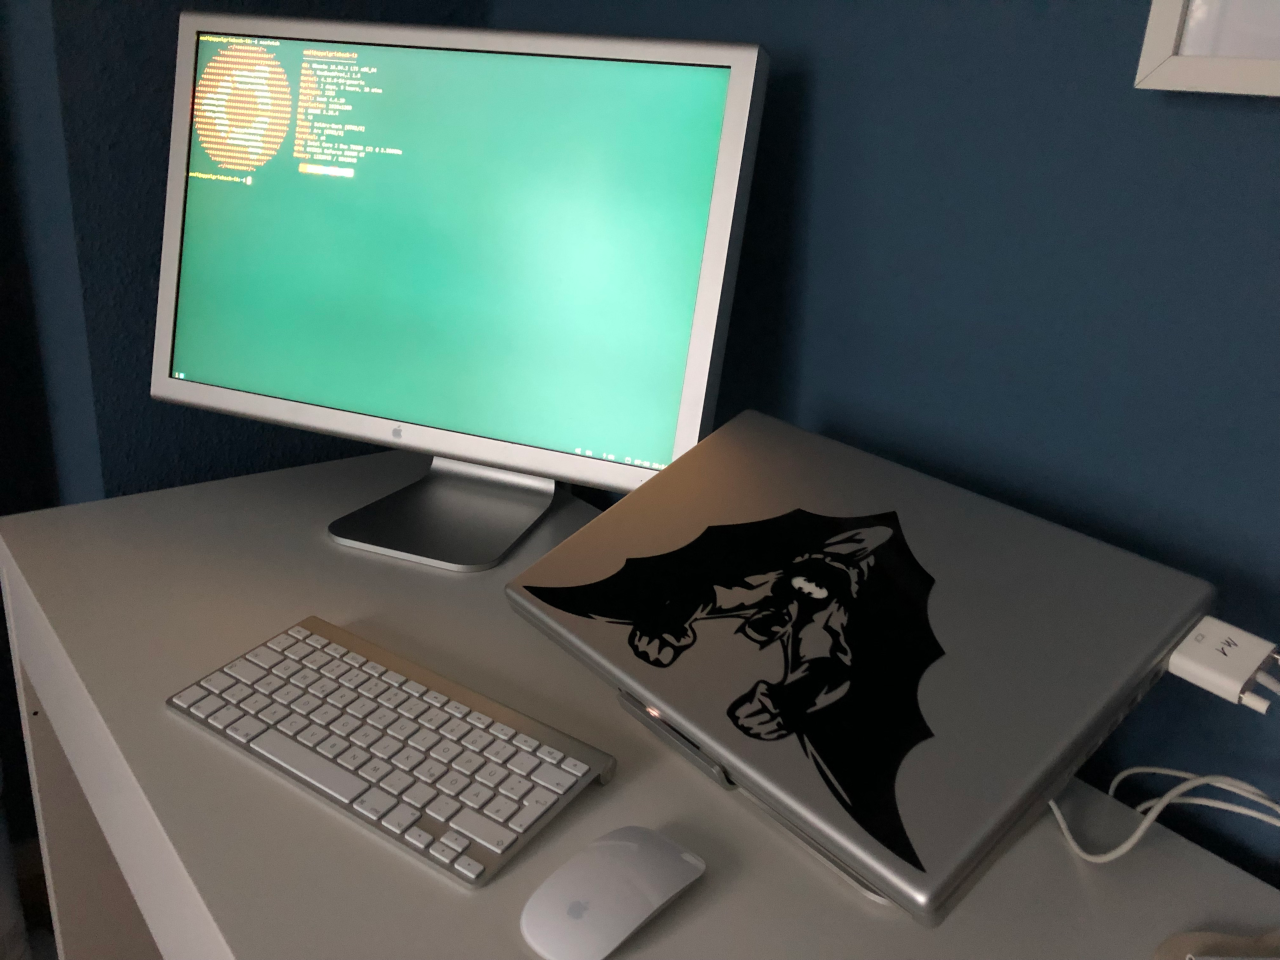
As part of this I recently rewrote part of the on-device software in Rust. As more complex Rust projects tend to consume a lot of compile time (even for debug builds), and I was on the turn to get a new laptop from my company anyway, I voted for a 14“ M1Pro MacBook Pro. Compile times in Rust have reduced dramatically on that machine and it is really fun to have this huge power available in such a mobile form factor…

Nevertheless I also was eager to check out if and how I may be able to run my beloved Manjaro ARM Sway system on the device with the help of a virtual machine manager such as UTM.

This is how it all turned out…

Requirements

This guide assumes that you are using an Apple Silicon based Mac - so either M1, M1 Pro, M1 Max or M2, which is having the same CPU architecture as the Manjaro ARM images (aarch64). Even though the UTM software is utilizing Qemu behind the scenes and it might be possible to emulate the aarch64 processor on an x86_64 PC as well, I haven’t tested this setup (yet) and would expect a much slower experience of the virtual machine.

Beside the hardware you should have a decent macOS operating system installed, and have downloaded and installed the UTM virtualizer.

Hint: if you want to support the developers of the UTM application you should buy the version from the Mac App Store ($9.95 at the moment).

Also having the QEMU tools installed on the system helps with management and support of the created VMs from the commandline / scripts. You can easily install QEMU via HomeBrew or MacPorts.

Read more  ↩︎

The Story behind the Sway profile for Manjaro ARM

Introduction

In this blog post I want to highlight some of the experiences I’ve made while working on the Sway profile for the Manjaro ARM installer. The reasons for me to start afresh with Linux on an ARM64 based architecture has been laid out in my introductory post. My experiences with the Pinebook Pro device itself and the reason to go with Manjaro ARM have been outlined in my last post. This time I will talk about the Sway window manager, how I created an installer profile for the Manjaro ARM builds, and how it ended up in the official Manjaro ARM repository.

When going to the Manjaro download portal you will find two official versions - one based on the KDE desktop environment and another one based on the XFCE desktop, as well as a community supported variant based on the i3 window manager. Whereas both the KDE and XFCE desktop environment take up the commonly known desktop metaphor made popular by the original Classic Mac OS and Windows operating system back in the 1980s, the i3 window manager uses another (I dare to say fresh) approach to the graphical user interface known as tiling window management.

Read more  ↩︎

Going all-in: my experiences with the Pinebook Pro

Initial assumptions

As I’ve been written in my introductory blog post I first noticed the Pinebook Pro at the FOSDEM 2020 in February this year. Prior to that point I was mainly using an already aged MacBook Pro 15“ from 2008 (!!!), which I installed with Regolith Linux due to the fact that newer version of macOS were no longer supported on it. Even though this device was already more than 10 years old it was still running fine with Linux. Needless to say that I’ve tuned it a bit by replacing the old physical hard drive with a newer SSD as well as upgraded the RAM to the maximum of 6GB.

MacBook Pro 2009 running Regolith Linux

Still it showed it’s age here and there… the battery life was quite short in comparison to today’s standards (usually less than 3 hours, even though I got a quite new aftermarket battery replacement), it has difficulties with newer video codecs (the build-in NVIDIA graphic only has hardware acceleration for H.264) and the fans are running wild as soon as you put it under load (remember: it still hosts a Core2Duo Penryn, which is not really optimized for mobile scenarios).

So I was looking for something I can easily grab and take around with me, it should be optimized to running Linux, be lightweight and with a good battery life. Additionally, as I rather saw this as a kind of second device, it should not cost that much. Most of the people in forums / social media will tell you that you can easily go with an used Lenovo Thinkpad of some sort, which you can easily find online for different price tags based on their conditions. While I was also considering this option in the beginning I soon noticed that you will have to spend a decent amount for upgrades to hard drives, RAM, and battery in case you will go with one of the cheaper options, or you also have to spend north of the 500 EUR landmark for an used device with some decent specs in it.

My initial plan got a make over when I was putting my hands on the Pinebook Pro at FOSDEM. From the start I was positively surprised about the build quality of it. It also offers a good selection of hardware choices for the given price tag without making too much compromises - something others have been written about at length. So after my return from the conference I ordered an ISO version of the device on the Pine64 web site immediately.

Read more  ↩︎